Call us by :
0086 159 8581 9806
XIAMEN LED SHOW CO.,LTD. | Info@ledshowcn.com
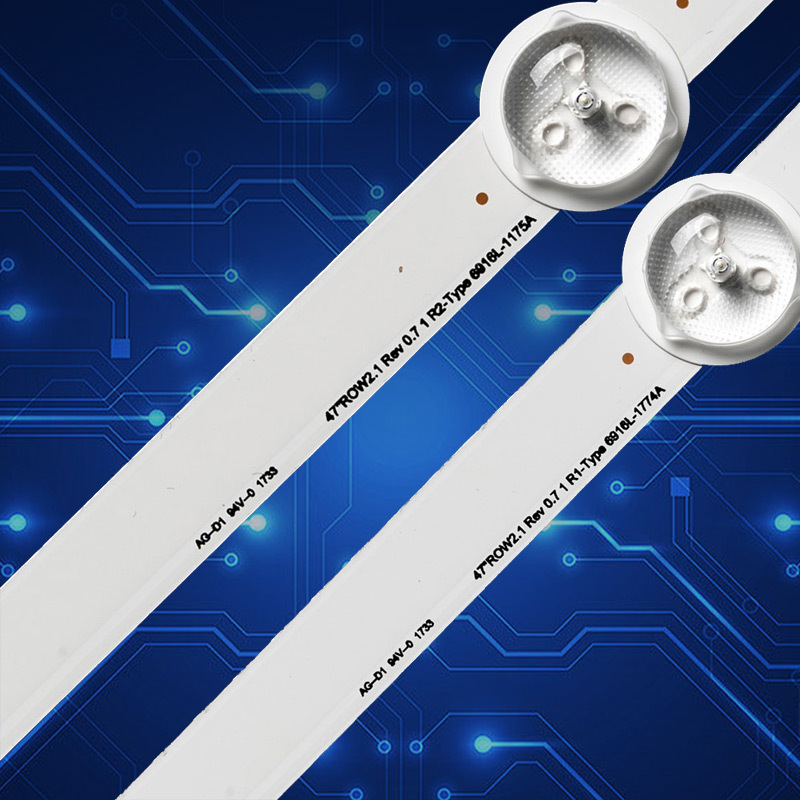
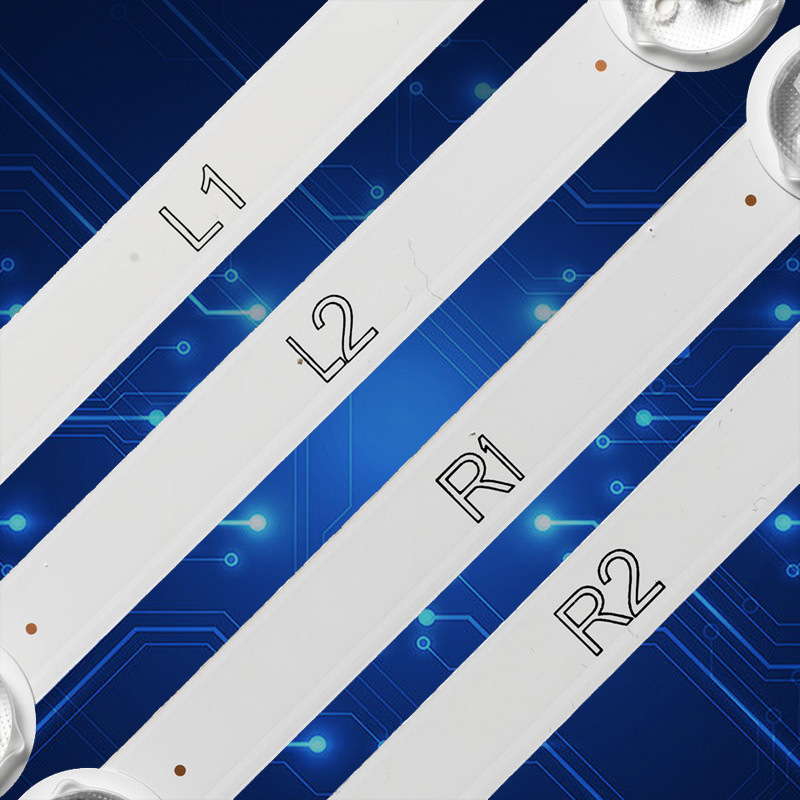
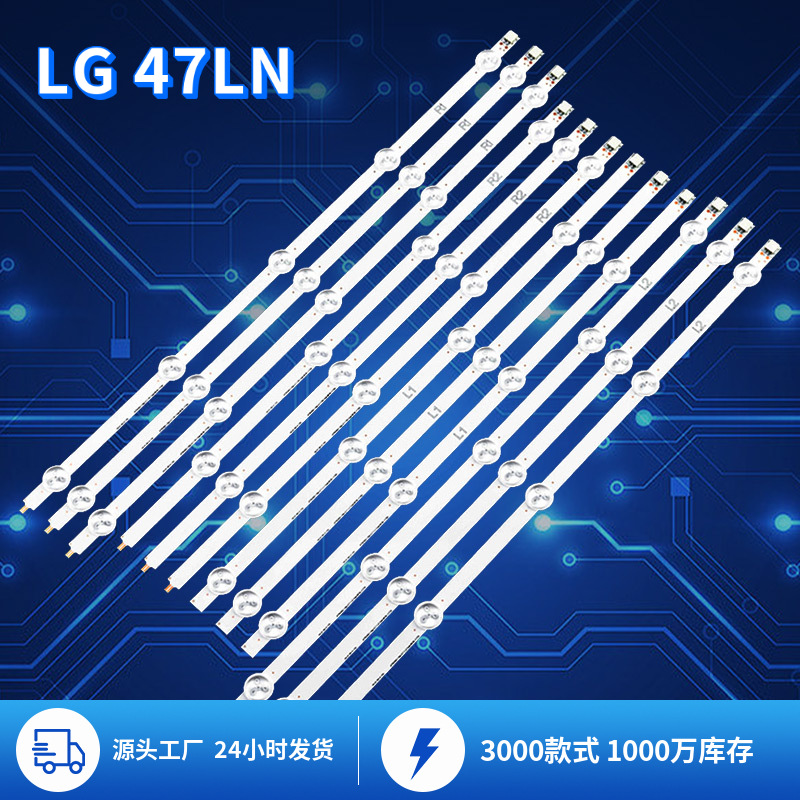

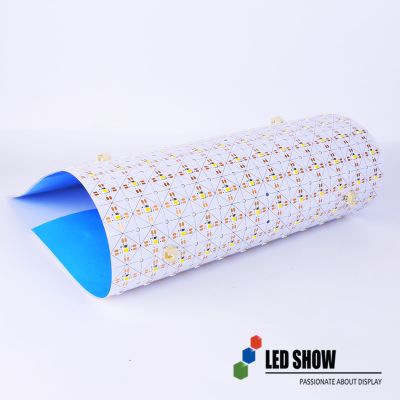
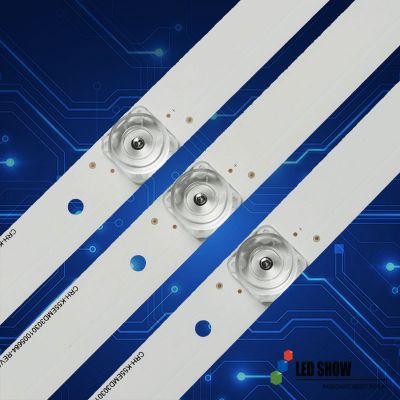
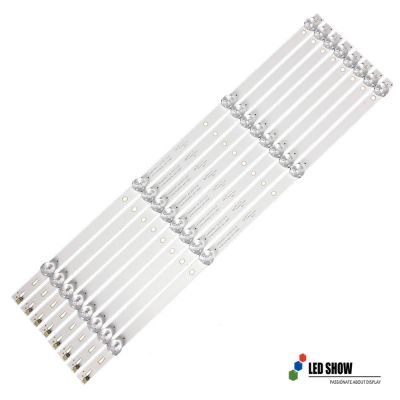
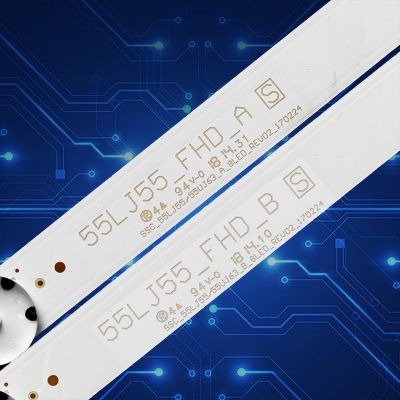
LG47LN TV backlight strip
How to replace LG47LN TV LED strips?
LG47LN LED strip installation tutorial
Buy LG47LN TV LED strips online
Fast Shipping for LG47LN Replacement Parts
Safety Precautions
Power Off & Discharge: Unplug the TV and wait 30 minutes to discharge capacitors. Avoid electric shock risks.
Workstation Setup: Use a clean, padded surface to protect the fragile LCD screen. Wear anti-static gloves to prevent damage.
Tools: Gather screwdrivers, plastic pry tools, suction cups, and replacement LED strips (ensure compatibility with LG47LN).
Step 1: Disassemble the TV
Remove the Back Panel:
Unscrew all rear panel screws. Use a plastic pry tool to gently separate the bezel clips. Avoid metal tools to prevent scratches.
Access the LED Strips:
Carefully detach the LCD screen. For larger screens (like the LG47LN), use suction cups to lift the panel evenly. Place it face-down on a soft cloth.
Locate Faulty Strips:
Inspect LED strips for burnt/damaged LED (blackened or cracked). Test with a multimeter (Rx10k) to identify open circuits
Step 2: Replace the LED Strips
Remove Old Strips:
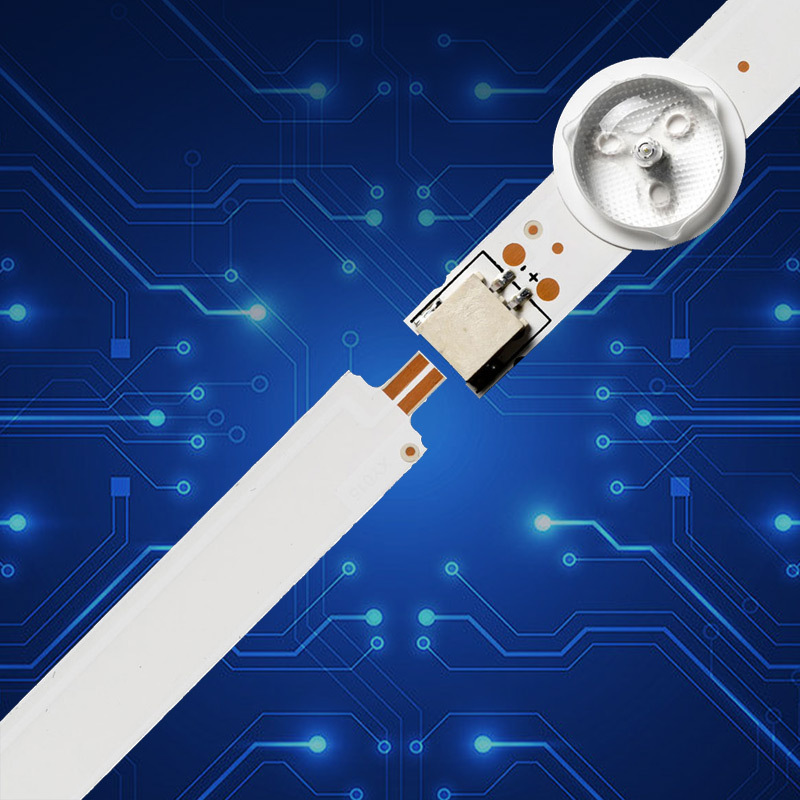
Unscrew or unclip the faulty strips. Note the orientation and wiring connections (e.g., 2-pin vs. 3-pin connectors).
Install New Strips:
Align replacement strips (ensure voltage matches original specs, e.g., 3.2V per LED). Secure screws/clips firmly.
Pro Tip: Adjust the circuit’s current (e.g., modifying resistors R238/R239) to reduce heat and extend lifespan.
Step 3: Reassemble & Test
Reattach the LCD Screen:
Clean dust from the screen and LGP. Misalignment can cause uneven backlighting.
Power On:
Reconnect cables and test the TV. Check for uniform brightness and no flickering.
For more information, please contact us by:

Mail: Info@ledshowcn.com
Web:www.ledshowcn.com